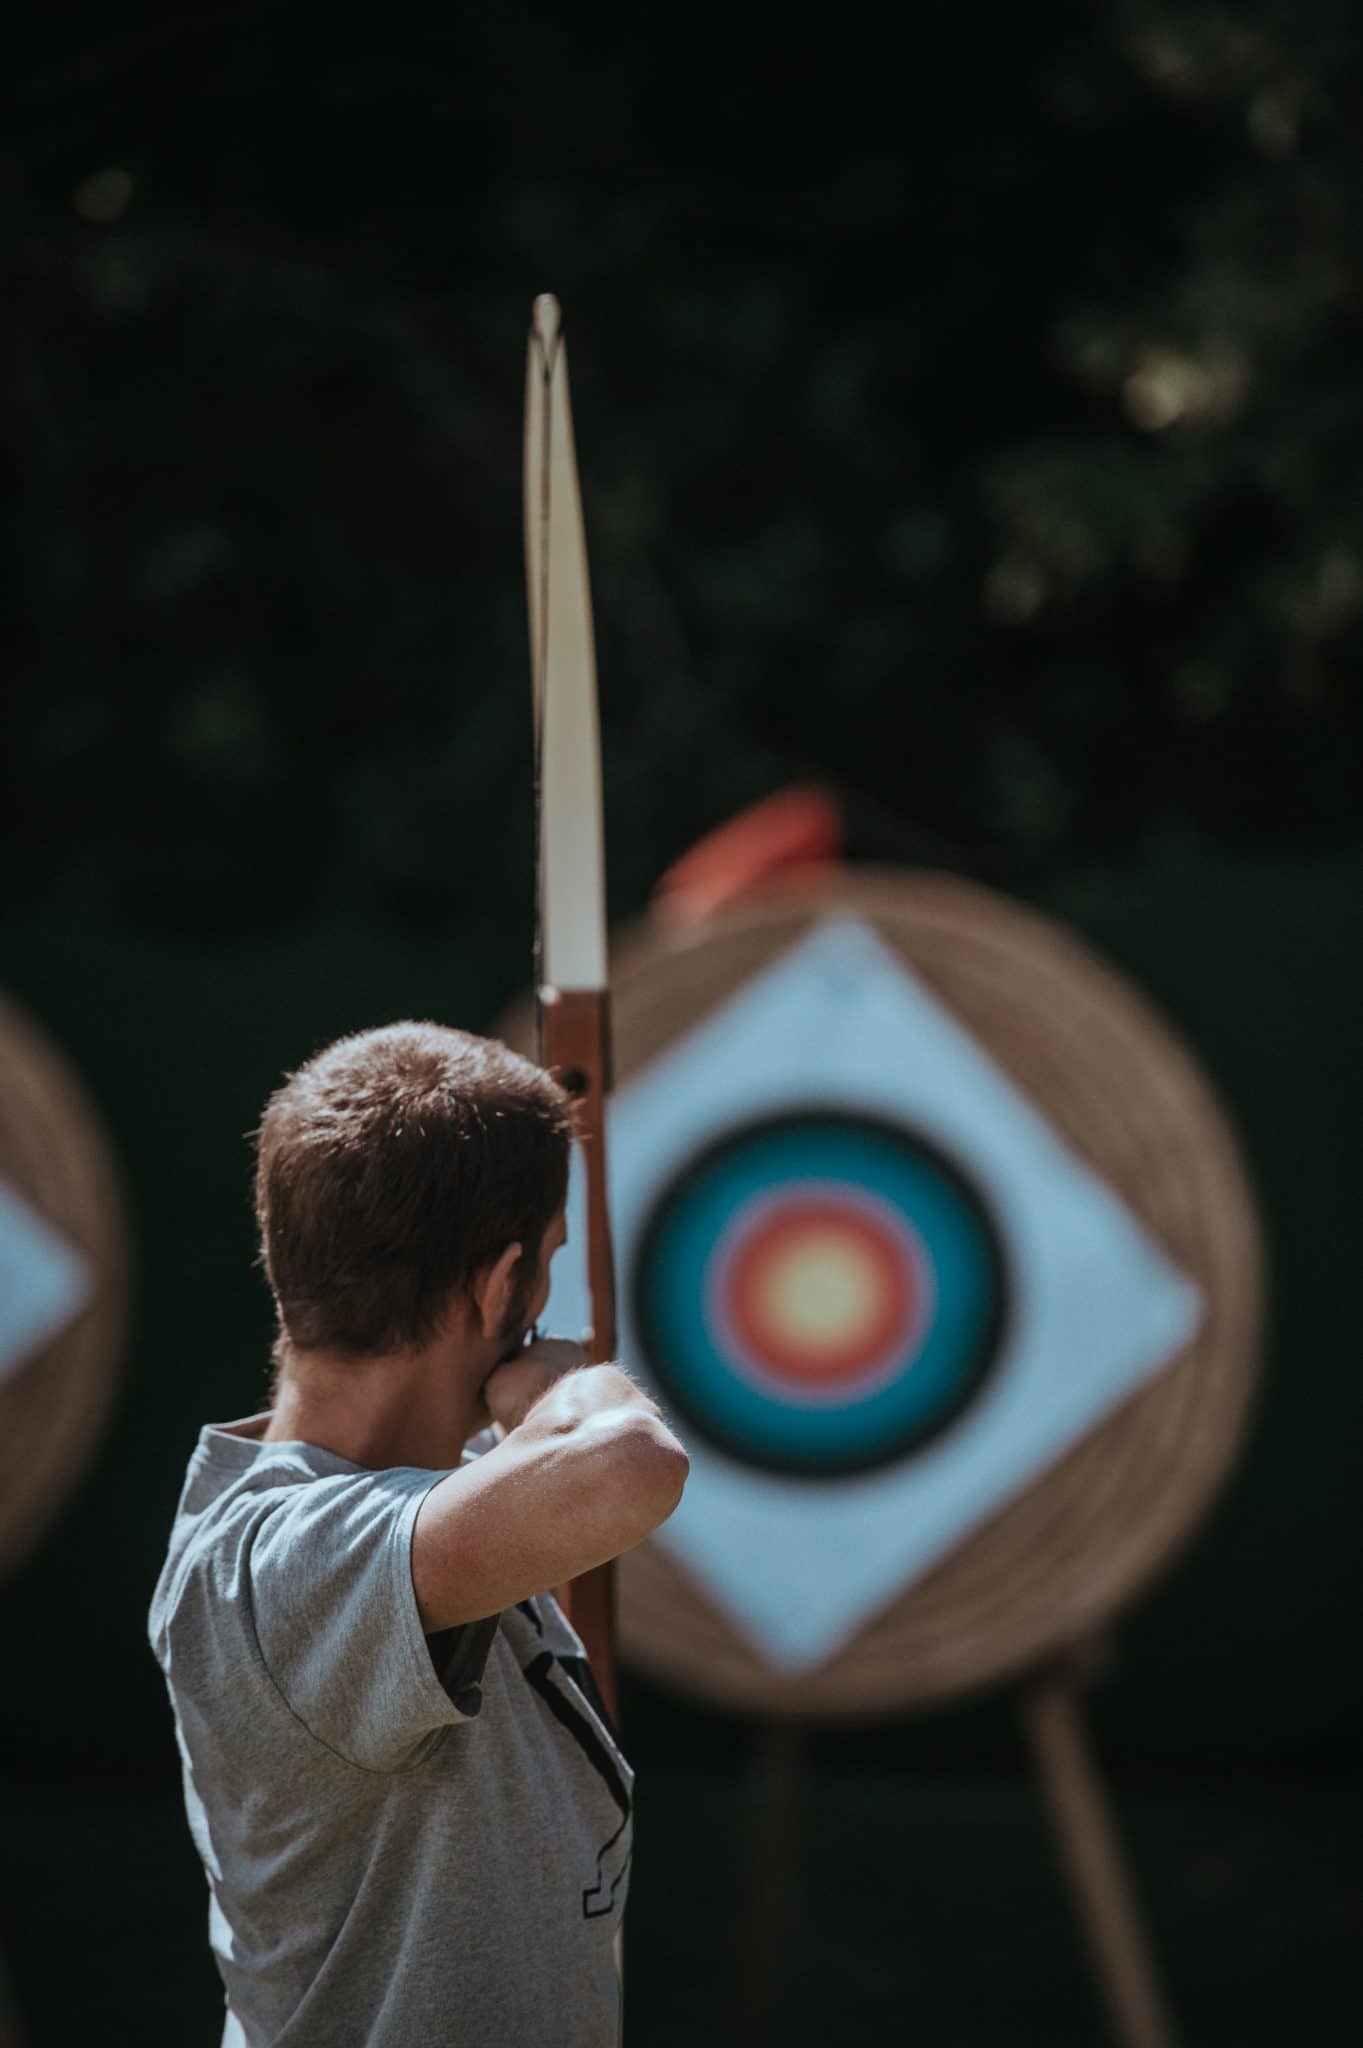
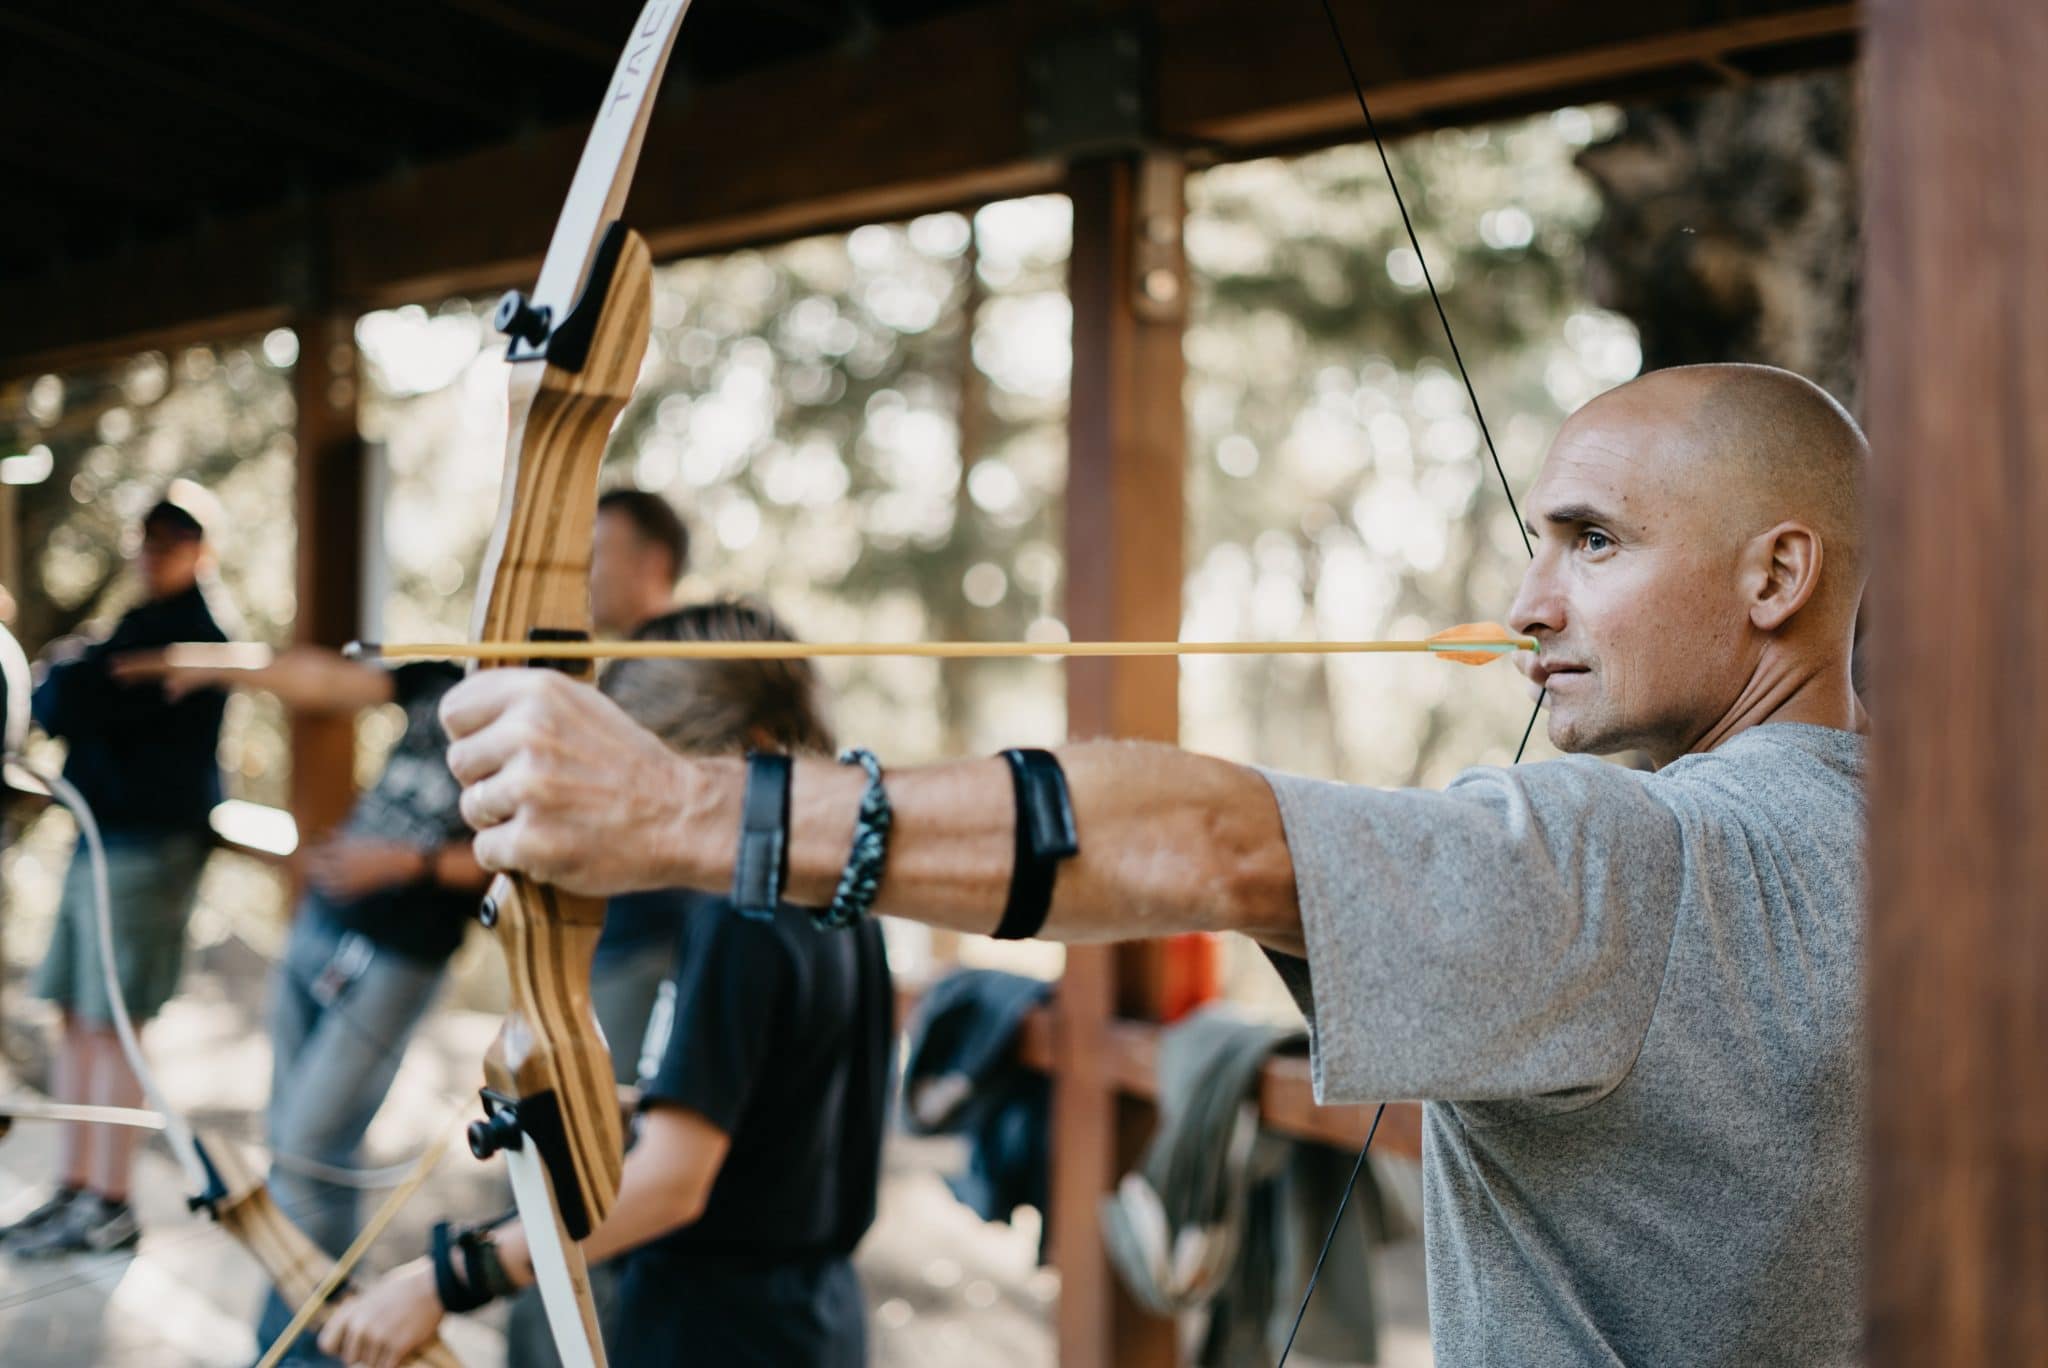
As with any sport, the correct technique is key to your continuous improvement. Archery is a perfect example of this, having the ability is pointless unless you can finely enhance your technique properly.
Learning the correct stances in archery will help with a number of key aspects of your overall performance.
Whether that be keeping a consistent accuracy with your shots or ensuring you can deliver the correct amount of power to the arrow.
Today we’ll be looking at the three main archery stances and also firing a few additional tips down range to improve your archery posture. Time for the basics!
The Three Archery Stances
Before we get started here are a few basic points to a great archery stance:
- Standing up, ensuring that your feet are roughly positioned at the same width apart as your shoulder
- Distribute your weight evenly across both feet to create a solid foundation and not lean to one side
- Avoid locking or bending your knees and keep your legs relaxed
- Always keep your back straight with your shoulders relaxed
- Never lean forwards or backwards when shooting

The three main stances in archery are all fairly similar, the main differences are in your feet placement.
You may choose a different stance based on personal preference or dependant on your dominant hand.
The Square Stance
The square stance is the option most frequently used by archers and probably the first stance you will want to look to master. In terms of movement, with this stance you will look to place both your feet on either side of the shooting line.
Your feet should be just over shoulder width apart to achieve maximum efficiency. Your hips should face nicely in line with your planted feet.
There are many benefits to using this stance. Some of these include less strain on your torso and abdomen as less rotation is required to pull off your shots. Many people also find this stance easier for achieving correct shoulder alignment.
There are a couple of drawbacks (no pun intended) with this stance. The narrower base that comes with the feet placement of this stance can cause less stability in windy conditions.
Another issue with this stance is that many users don’t use their core and leg strength enough using this stance.
The Open Stance
The open stance involves a shift in foot placement to the more common square stance. With users adjusting their feet, legs, and hips so that they’re facing the target more.
With this stance your feet will still be on either side of the shooting line, however, they won’t be completely parallel.
To initiate the stance, you will need to place your right foot on the shooting line, with the ball of your foot in line with the gold.
You will then be required to turn your foot slightly inwards to so that it doesn’t line up parallel with your left foot.
Look to keep your feet at shoulder-width apart, slightly closer than in square stance, but generally a fairly similar distance.
There are many benefits of selecting this particular stance, some of these include greater stability when shooting in windy conditions, as well as allowing you to place your weight more consistently along the toe-heel line.
As with any stance, there are a few issues with this one. This stance is more difficult for beginners to learn as finding the correct vertical posture can be difficult and takes plenty of time to master.
This stance also requires much more torso rotation which can place more stress on your spine and lower back over time.
The Closed Stance
The closed stance is essentially the opposite of the open stance, with the main difference being that it is usually utilized with a much smaller angle to the shooting line than the frequently used open stance.
When it comes to feet placement, your feet should be positioned shoulder width, roughly the same distance as both the square and open stances mentioned previously.
Your hips will remain stationary for the complete duration of this stance during your shot.
On the ground, the ball of your foot should in line with the gold, and your right heel should be no more than 1 to 2 inches behind.
There are many benefits of using the closed stance, the similarity to the square stance makes it an easier transition to this stance compared to others.
Many archers also believe that this particular stance helps drive more power into shots.
However, with the bow being positioned closer to the chest and arms, you’re much more susceptible to receiving bruising from the bowstring.
What is the Best Stance for me?
Unfortunately, there isn’t a simple answer to this question, it ultimately depends on your personal preference and where you feel you operate to the best of your ability.
The square stance is the go-to stance for most novices. Find a stance that best suits and you and then begin to work on your form and posture.

Nailing that Archery Posture
While foot positioning is determined by your selected stance, there is still a great number of posture elements for your body that can be the way to achieve a solid shooting position.
Torso Position
The Torso position is arguably one of the most important elements of a successful archer. Maintaining a proper posture is key to both your consistency and accuracy.
To achieve proper posture, you will need to have your torso straight up, with your collar bone parallel with the arrow.
You should make sure that your hips don’t bend forwards or backwards when taking your shot.
Your torso should remain straight at all times and not bend to the left or right either.
Many archers have tendencies to lean forward into shots, while many beginners find themselves leaning back into shots.
Head Position
Once you have properly positioned your torso, you will need to have your head up straight, with your chin nicely level with the ground.
Face towards the target, aim, and hold your archery form throughout the draw and release process. .
Shoulder Position
When it comes to shoulder position, the shoulder on your release arm should fall into position naturally once your elbow and lower are properly positioned.
The bow’s arm shoulder or front shoulder should be a natural position, but a mistake that many people make is to shrug this shoulder back into the torso.
This is the wrong thing to do as it can lead to overextending, leading to a low shoulder and sore muscles.
Elbow/Lower Arm Position
Your elbow should point straight away from the target upon release, with your forearm remaining parallel to the ground.
The elbow on your bow arm should point in an outward and faintly downward angle away from the bow.
A sign of correct positioning will be seeing a slight bend in your bow’s arm. When correctly positioned you should also notice a 45-degree angle on your thumb.
Anchor Point
One final positional aspect to help maximize your archery capabilities is by using the correct anchor point. The anchor point depends on what type of bow you’re using.
For example, a compound-bow archer may choose to position their bow string release just behind their jawline, while a recurve archer may choose to select an aim closer to their nose, mouth or chin.
Frequently Asked Questions
Why do archers lean forward?
You should always ensure that you do not lean forward or backwards when shooting. While many feel that their bow is too heavy, and compensate by altering their positioning, this is not good modern form.
In historical archery, leaning forward is used to better align the left shoulder. However, Olympic and compound archers should not lean forward, as the modern form is very different from the form used with historical bows. When using the modern form, archers anchor at the face as opposed to the side and need to keep their torso as straight as possible.
Generally speaking, if your bow is the right weight for you, you shouldn’t have to lean forward to shoot in archery. Shooting a bow with a draw weight that is too much for you to handle is dangerous and will likely mean that you won’t be very accurate with it.
That being said, when using the modern form you should never lean forward or backwards to ensure you produce the most consistent and accurate shooting.
How far apart should your feet be in archery?
In archery, one of the most important aspects to shooting is your form. Your posture is incredibly important, as proper form is the only way to achieve consistent shooting!
Feet positioning is very important since you need to stand stable during your shot.
Below are some tips to remember when finding the right position for your feet in archery:
- You should always keep your feet parallel to the shooting line. It’s easy to think you should be facing towards the target, but this makes drawing and aiming your bow much more of a challenge. Bearing this in mind, you should turn your feet 90 degrees.
- Stand with your feet shoulder width apart. Move your feet until they are shoulder width apart. It’s important that you don’t place your feet close together since it will make it hard to balance while holding your bow.
- Position your toes slightly outwards. This will help to improve your stability when you are shooting, providing you with a good, solid base.
- Keep your knees straight. You shouldn’t go through your knees, as this will make your shooting less and consistent and will strain your back muscles more. You also shouldn’t overextend or lock your knees, as this will make your stance less stable and it is bad for your joints.
Summary
An archer’s stance, whether shooting a compound bow or longbow, is something every archery coach and training program should focus on. It doesn’t matter if you are heading towards a professional direction or just like to see better results as part of your new hobby, a proper stance is crucial. Without it, you fatigue faster, your range sessions will have inconsistent results and you’ll see minimal improvements.

